
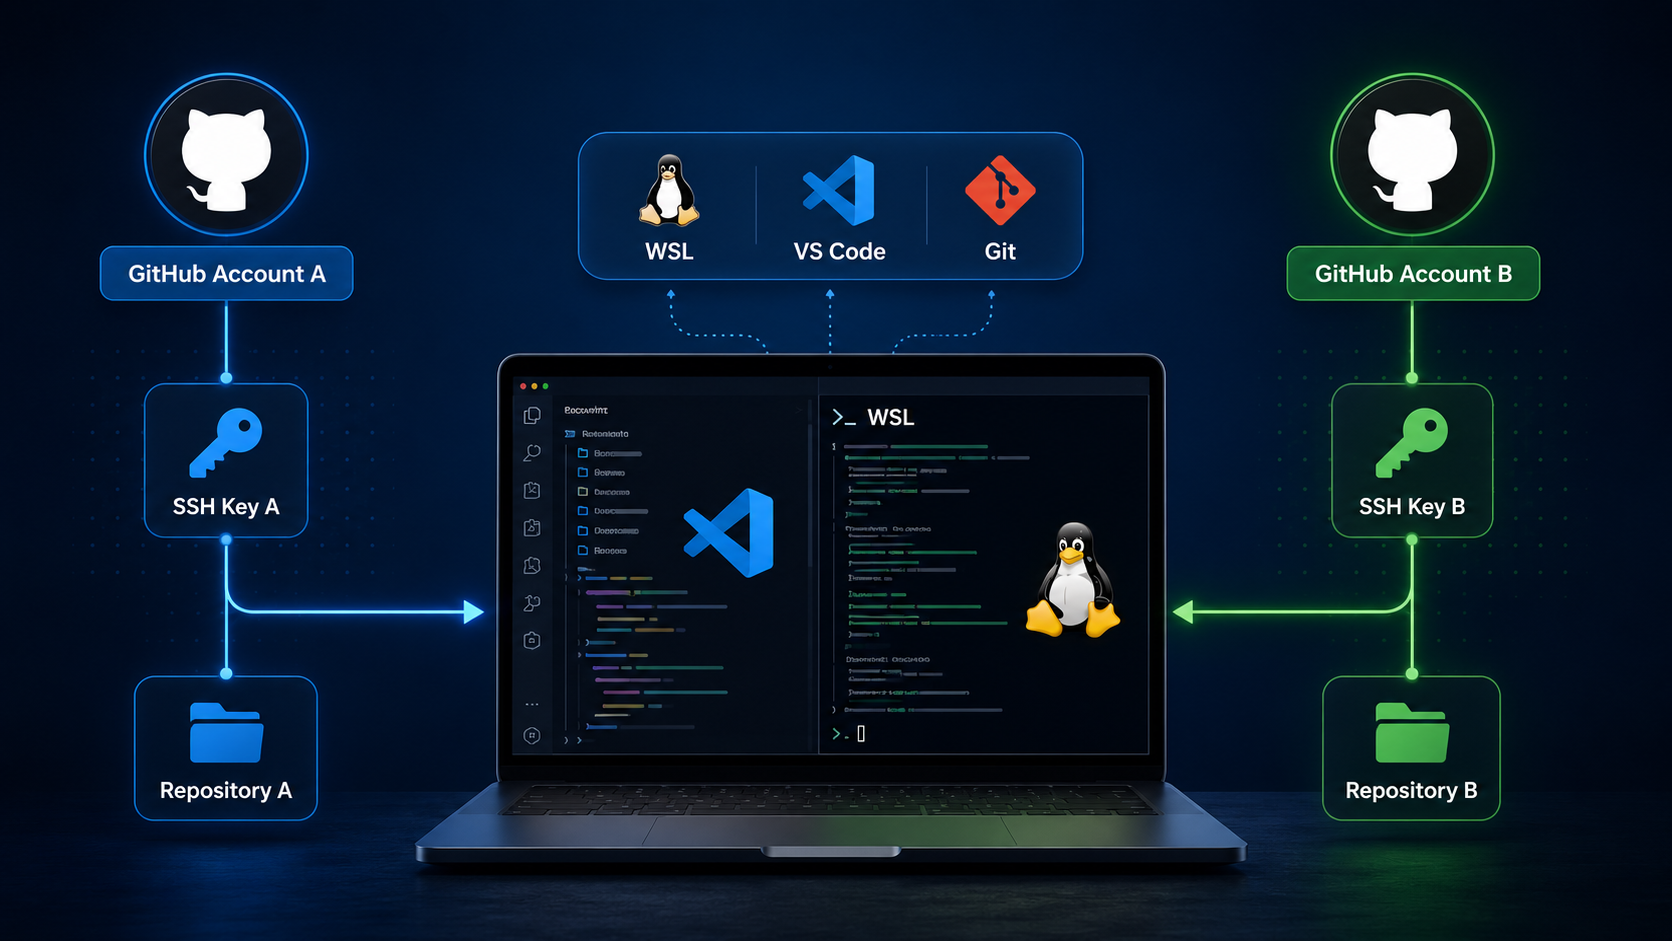
Working with more than one GitHub account on the same development machine is common.
You may have separate accounts for different organisations, customers, personal projects, or development environments.
The challenge is making sure Git authenticates with the correct GitHub account for each repository without repeatedly signing in and out.
A clean approach is to use:
- a separate SSH key for each GitHub account
- an SSH alias for each account
- repository remotes that point to the correct alias
Once configured, normal commands such as git pull and git push continue to work without manually switching accounts.
The overall pattern looks like this:
Repository A
    ↓
SSH Alias A
    ↓
SSH Key A
    ↓
GitHub Account A


Repository B
    ↓
SSH Alias B
    ↓
SSH Key B
    ↓
GitHub Account B
This guide assumes Git commands are being run from a WSL terminal, including WSL used through the VS Code integrated terminal.
1. Check Existing SSH Keys
Start by checking whether SSH keys already exist:
ls -la ~/.ssh
If GitHub is already being used over SSH, you may already have one or more keys in this directory.
There is no need to replace an existing key.
The objective is simply:
One GitHub account = One SSH key
2. Create a Separate SSH Key for Each Account
Create a key for the first GitHub account:
ssh-keygen -t ed25519 -C "github-account-a" -f ~/.ssh/github_account_a_key
Create another for the second account:
ssh-keygen -t ed25519 -C "github-account-b" -f ~/.ssh/github_account_b_key
Each command creates two files.
For Account A:
github_account_a_key
github_account_a_key.pub
For Account B:
github_account_b_key
github_account_b_key.pub
The .pub file is the public key.
The file without .pub is the private key and should never be shared.
You can also protect the private key with a passphrase when prompted.
3. Add Each Public Key to the Correct GitHub Account
First, display the public key for Account A:
cat ~/.ssh/github_account_a_key.pub
Copy the complete output. It will look similar to:
ssh-ed25519 AAAA... github-account-a
Only copy the public key from the .pub file. Never upload or share the private key.
Now sign into GitHub Account A in your browser.
Navigate to:
Profile menu
→ Settings
→ SSH and GPG keys
→ New SSH key
Configure the key:
Title: WSL - Development
Key type: Authentication Key
Key: <paste the public key here>
Then select:
Add SSH key
GitHub may ask you to confirm your password or authentication method.
Repeat the same process for Account B.
Display its public key:
cat ~/.ssh/github_account_b_key.pub
Then sign into GitHub Account B and navigate to:
Profile menu
→ Settings
→ SSH and GPG keys
→ New SSH key
Add the second key:
Title: WSL - Development
Key type: Authentication Key
Key: <paste the Account B public key>
At this point, each GitHub account has its own SSH public key registered:
GitHub Account A
→ github_account_a_key.pub

GitHub Account B
→ github_account_b_key.pub
The corresponding private keys remain securely stored inside WSL and are never uploaded to GitHub.
4. Configure SSH Aliases
The SSH configuration is what keeps the two accounts separated.
Open the SSH config:
nano ~/.ssh/config
Add:
Host github-account-a
    HostName github.com
    User git
    IdentityFile ~/.ssh/github_account_a_key
    IdentitiesOnly yes

Host github-account-b
    HostName github.com
    User git
    IdentityFile ~/.ssh/github_account_b_key
    IdentitiesOnly yes
Both aliases ultimately connect to:
github.com
But each alias explicitly uses a different SSH key.
IdentitiesOnly yes tells SSH to use the configured key instead of trying other identities that may already be loaded.
The mapping now becomes:
github-account-a
→ github_account_a_key
→ GitHub Account A

github-account-b
→ github_account_b_key
→ GitHub Account B
5. Test Both GitHub Accounts
Test Account A:
ssh -T git@github-account-a
GitHub should respond with something similar to:
Hi <account-a>! You've successfully authenticated, but GitHub does not provide shell access.
Now test Account B:
ssh -T git@github-account-b
The response should identify the second GitHub account.
This confirms that both accounts can authenticate independently from the same WSL environment.
6. Clone Repositories Using the Correct Identity
The SSH alias is now used in the Git repository URL.
For a repository belonging to Account A:
git clone git@github-account-a:ACCOUNT_A/example-repository.git
For a repository belonging to Account B:
git clone git@github-account-b:ACCOUNT_B/example-repository.git
The important difference is the hostname:
git@github-account-a
versus:
git@github-account-b
That hostname tells SSH which private key to use.
No manual account switching is required.
7. Verify the Repository Remote
Enter the cloned repository:
cd example-repository
Then check the remote:
git remote -v
For Account B, for example, you should see:
origin  git@github-account-b:ACCOUNT_B/example-repository.git (fetch)
origin  git@github-account-b:ACCOUNT_B/example-repository.git (push)
From this point forward, normal Git commands work as expected:
git pull
git push
The repository remote determines the SSH alias, and the SSH alias determines the GitHub identity.
8. Update an Existing Repository
The same approach can be applied to a repository that has already been cloned.
Check its current remote:
git remote -v
Then update it to use the correct SSH alias:
git remote set-url origin git@github-account-b:ACCOUNT_B/example-repository.git
Verify:
git remote -v
The repository will now authenticate using the SSH key associated with Account B.
9. Authentication and Commit Identity Are Different
SSH authentication determines:
Which GitHub account am I connecting as?
Git configuration determines:
Who is recorded as the author of my commit?
Check the current commit identity:
git config --get user.name
git config --get user.email
If a repository needs a different commit identity, configure it locally:
git config --local user.name "Developer Name"
git config --local user.email "developer@example.com"
Using --local means the setting only applies to the current repository.
It does not change the identity used by other repositories.
10. Optional: Remember SSH Passphrases in WSL
Using a passphrase protects the private SSH key, but entering it repeatedly can become inconvenient.
For Ubuntu-based WSL environments, keychain can reuse an SSH agent across terminal sessions.
Install it:
sudo apt update
sudo apt install keychain
Then open the Bash configuration:
nano ~/.bashrc
Add:
eval $(keychain --eval --quiet ~/.ssh/github_account_a_key ~/.ssh/github_account_b_key)
Reload the shell:
source ~/.bashrc
You may be asked for the passphrase when the key is first loaded.
Check which SSH identities are currently loaded:
ssh-add -l
This allows new WSL terminal sessions to reuse the SSH agent instead of prompting for the passphrase during every Git operation.
Final Configuration
The final setup is simple:
Repository A
    ↓
git@github-account-a
    ↓
github_account_a_key
    ↓
GitHub Account A


Repository B
    ↓
git@github-account-b
    ↓
github_account_b_key
    ↓
GitHub Account B
Each repository points to the appropriate SSH alias, and SSH automatically selects the correct key.
There is no need to:
- repeatedly sign in and out of GitHub
- manually switch SSH keys
- maintain separate VS Code installations
- create separate VS Code profiles purely for GitHub authentication
Conclusion
Multiple GitHub accounts can coexist cleanly within the same WSL and VS Code development environment.
The pattern is straightforward:
Separate SSH keys
→ SSH host aliases
→ Repository-specific remote URLs
→ Automatic GitHub identity selection
Once configured, developers can continue using normal Git workflows while keeping authentication between accounts clearly separated.
Written by Usman Mahmood
Founder of The Cloud Captain, Sharing practical guidance on cloud architecture, platform engineering, automation and modern infrastructure.
P.S. Further reading: GitHub provides additional guidance on connecting to GitHub with SSH and managing multiple accounts.